How to Save Voicemails on iPhone to iCloud | 5 Easy Methods
Discover the most effective methods to save voicemails on iPhone to iCloud. This detailed guide provides step-by-step instructions and introduces a powerful third-party tool for easy backup.
Why Save Voicemails on iPhone to iCloud?
Before we dive into methods, it's important to know that iPhone voicemails are not automatically stored in iCloud like photos or contacts. They live on your device and your carrier's server. To truly save voicemails on iPhone to iCloud, you need to manually transfer or back them up.

Why Save Voicemails to iCloud?
- Prevent Accidental Deletion - iCloud acts as a safety net, if you delete a voicemail on your phone, you still have the copy in iCloud
- Free Up iPhone Storage - Voicemails, especially long ones, can accumulate and take up space
- Access from Any Device - With voicemails in iCloud, you can listen on iPad, Mac, or even Windows via iCloud.com
- Protect During Device Upgrade - When you get a new iPhone, your saved voicemails are ready to restore
- Share with Others - Saved voicemail files can be shared via email or messages
Method 1. Save Voicemails on iPhone to iCloud Using FoneTool
While Apple provides several native methods, FoneTool offers the most complete solution for saving voicemails to iCloud and beyond. It's especially useful if you want to:
-
Save voicemails directly to your computer or external drive
-
Selectively back up only voicemails (not your entire device)
-
Access voicemails as individual audio files
-
Transfer voicemails between devices without iCloud
| ✅ Why Choose FoneTool? | |||
| Feature | FoneTool | iCloud Backup | iTunes Backup |
|---|---|---|---|
| Save voicemails as individual files | ✅ Yes | ❌ No (only in full backup) | ❌ No |
| Access voicemails on PC/Mac | ✅ Yes | ❌ No (can't play from backup) | ❌ No |
| Selective backup | ✅ Choose only voicemails | ❌ Backs up everything | ❌ Backs up everything |
| No iCloud storage limits | ✅ Saves to your computer | ❌ Uses iCloud quota | ✅ No cloud storage needed |
| Share voicemails easily | ✅ As audio files | ❌ Can't share from backup | ❌ Can't share from backup |
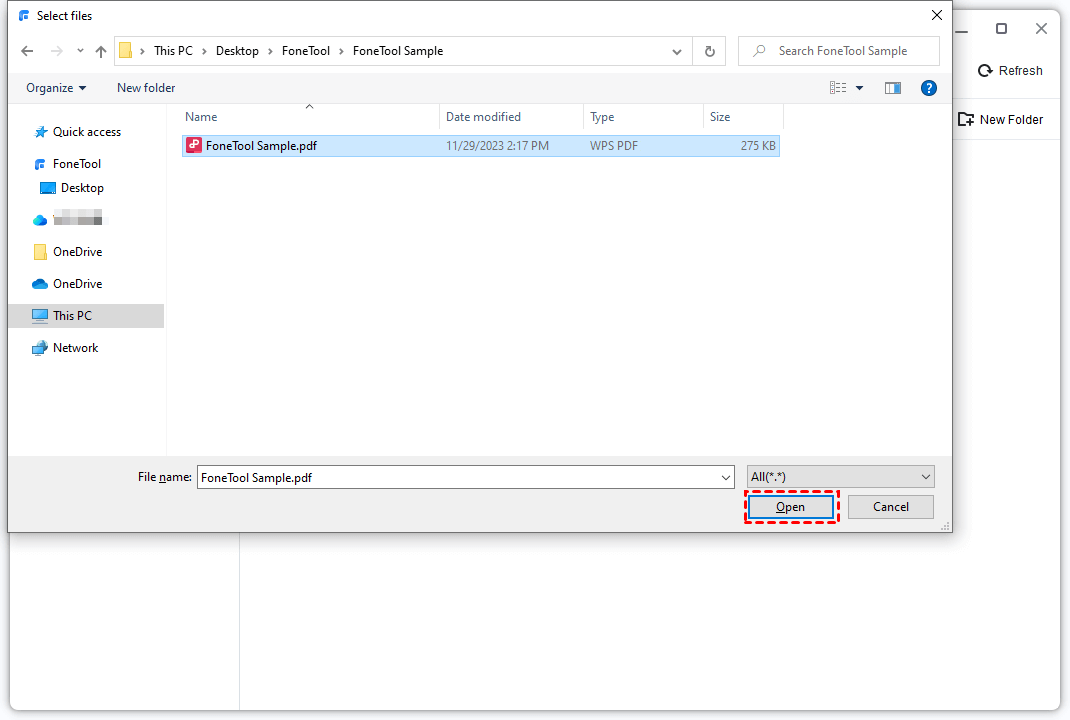
Step 1. Visit the official website and download FoneTool, then install and launch the program on your computer.
Step 2. Using a USB cable, connect your iPhone to the computer and tap "Trust" on your iPhone when prompted.
Step 3. In the main FoneTool interface, navigate to My iCloud > Sign in to iCloud with your account> Manage iCloud.
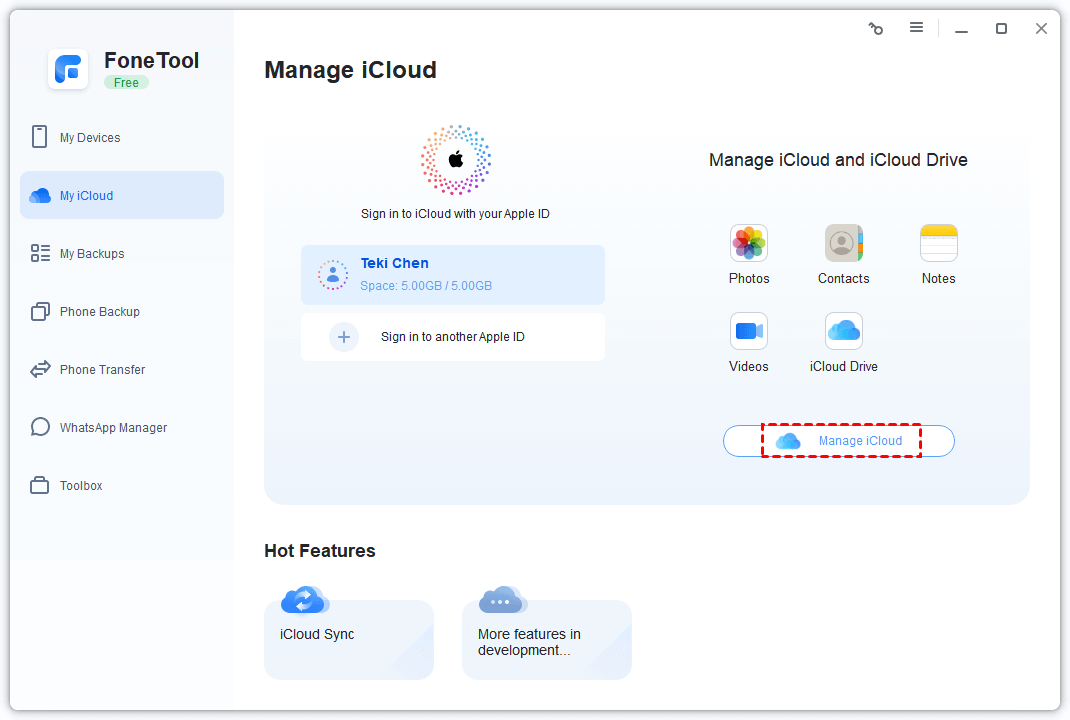
Step 4. And select Voicemails from the list of data types.
Step 4. Click Start Upload to scan and save all your voicemails as individual audio files to your computer.
Method 2. Enable Automatic iCloud Backup for Full Device Protection
The most straightforward Apple method is to back up your entire iPhone to iCloud. This includes voicemails as part of the system backup.
Step 1. Open Settings on your iPhone, tap your name at the top, select iCloud, and then tap iCloud Backup.
Step 2. Toggle Back Up This iPhone to the ON position if it isn't already enabled.
Step 3. Tap Back Up Now to start an immediate backup of your entire device.
Step 4. Ensure your iPhone stays connected to Wi-Fi until the backup completes.
Step 5. To verify success, go back to iCloud Backup and check the timestamp of your last backup.
⚠️Important: This backs up voicemails, but you cannot view or play them from iCloud.com.They are only accessible when restoring an entire device from backup.
😃Advantages
- Built-in, no extra apps
- Automatic if enabled
- Restores voicemails when setting up new device
🙁Disadvantages
- Requires regular backups to keep voicemails updated
- Uses iCloud storage space
- Cannot access individual voicemail files
Method 3. Share Voicemail as Email Attachment & Save to iCloud Drive
For saving a few important voicemails, email is the fastest method. You get the voicemail as an attachment you can then save to iCloud Drive.
Step 1. Open the Phone app on your iPhone and navigate to the Voicemail tab.
Step 2. Tap the voicemail you want to save, then tap the Share icon (square with arrow).
Step 3. Select Mail from the sharing options menu.
Step 4. Address the email to yourself (or any email you can access on your computer) and tap Send.
Step 5. On your computer or iPhone, open the email, download the attached voicemail file, and upload it to iCloud Drive.
- ★Tip:
- Create a "Saved Voicemails" folder in iCloud Drive to keep them organized.
😃Advantages
- No extra software needed
- Voicemail becomes a shareable file
- Can save to iCloud Drive from email
🙁Disadvantages
- Time-consuming for multiple voicemails
- Email attachment size limits (usually 20-25MB)
- Requires internet
Method 4. Record Voicemails with Voice Memos & Sync via iCloud
This clever workaround uses Voice Memos to record your voicemail, then relies on iCloud to sync it across devices.
Step 1. Launch the Voice Memos app on your iPhone.
Step 2. Tap the red Record button to begin recording.
Step 3. Open the Phone app (using split view or quick switch), navigate to the voicemail you want to save, and play it completely.
Step 4. Return to Voice Memos and tap the red square to stop recording once the voicemail finishes.
Step 5. Go to Settings > your name > iCloud, ensure Voice Memos is toggled ON, and wait for the automatic sync to complete.
Now your voicemail (as a Voice Memo) will sync to all devices signed into the same Apple ID.
😃Advantages
- Voicemails sync automatically to all devices
- No computer needed
- Voicemails become editable Voice Memo files
🙁Disadvantages
- Requires manual recording (plays in real-time)
- Slight quality loss from playing and recording
- Can't capture multiple voicemails quickly
Method 5. Create Wired Full Backup with iTunes/Finder
For a full device backup that includes voicemails, iTunes (on PC or older Mac) or Finder (on macOS Catalina+) is a solid choice.
Step 1. Use a USB cable to connect your iPhone to your PC or Mac.
Step 2. Open iTunes (on PC or older Mac) or Finder (on macOS Catalina or later).
Step 3. Select your iPhone when it appears in the sidebar or main window.
Step 4. Under the Backups section, select This Computer and click Back Up Now.
Step 5. For added security, check Encrypt local backup, set a password you'll remember, and click Back Up Now again.
Your voicemails are now safely stored in the backup file on your computer.
😃Advantages
- Complete device backup
- Does not use iCloud storage
- Fast wired connection
🙁Disadvantages
- Cannot access individual voicemail files
- Restoring overwrites your entire device
- Requires computer with enough storage
Frequently Asked Questions
Conclusion
You now know exactly how to save voicemails on iPhone to iCloud using five different approaches—from Apple's built-in tools to the powerful FoneTool solution. Each method offers a reliable way to protect your important audio messages, ensuring they're never lost to accidental deletion or device failure.
For the most complete solution with individual file access: Choose FoneTool. It's the only method that gives you full control—saving voicemails as separate audio files you can store anywhere, including iCloud, your computer, or external drives.
FoneTool - All-in-one iPhone Data Manager
Transfer, backup and manage data on iPhone, iPad and iPod touch in an easy way.
-
 iOS 27 Compatible
 iPhone 17 Supported
Windows 11/10/8/8.1/7
100% Secure
Kelsey is an English editor at FoneTool, passionate about helping users solve tech issues. She specializes in iPhone data management, backup, and recovery. In her free time, she enjoys learning IT skills and spending time with loved ones.
Read author info >>