How to Sync Google Photos from iPhone to Computer
Explore the step-by-step guide on syncing Google Photos from your iPhone to your computer effortlessly. Learn about various methods, including iCloud, Google Drive, and third-party tools, ensuring your cherished memories are seamlessly backed up and accessible across devices.
Why Sync Google Photos to Your Computer?
In today's digital age, our iPhones store countless precious memories through photos. Syncing Google Photos from iPhone to computer ensures these moments remain securely backed up and easily accessible. This comprehensive guide walks you through seamless methods to achieve this.
Understanding the Importance of Syncing Google Photos
Before we dive into the methods, let's understand why syncing Google Photos is crucial.
🔒 Backup and Security: Protect your photos against data loss or device damage
📱 Cross-Device Accessibility: Access your Google Photos seamlessly across all your devices
💾 Storage Optimization: Free up valuable iPhone storage space by moving photos to your computer
How to Sync Google Photos from iPhone to Computer - 5 Methods
Now, let's explore the step-by-step methods to sync Google Photos from your iPhone to your computer.
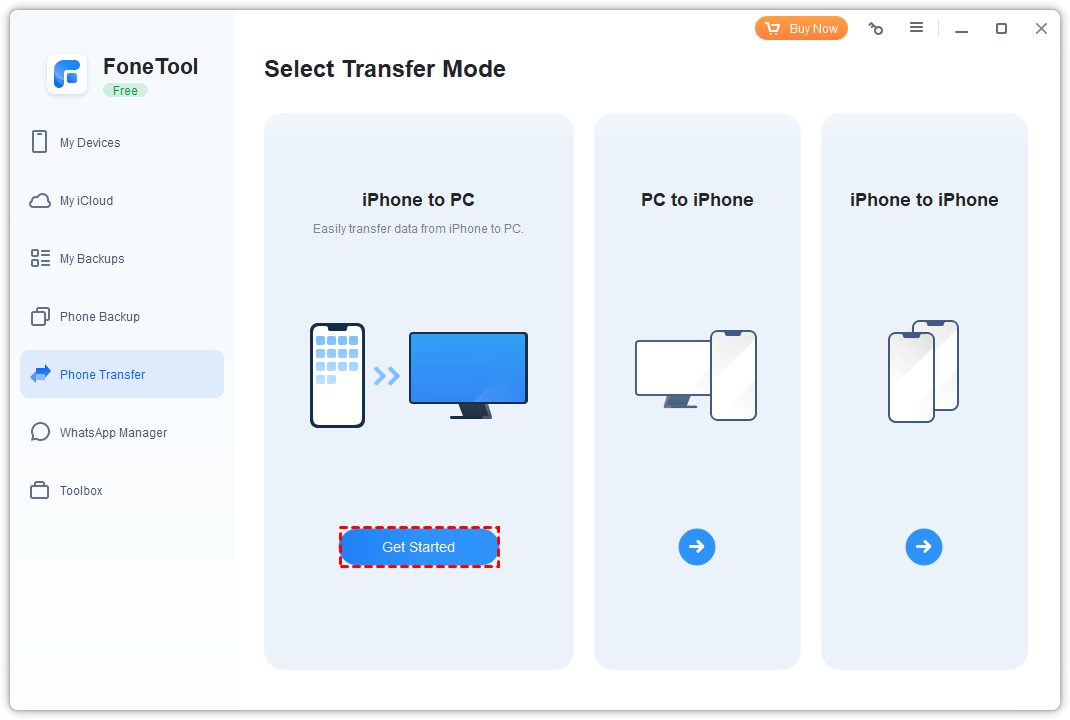
Method 1. Transfer Google Photos from iPhone to PC with FoneTool
FoneTool provides the most efficient and user-friendly solution for directly transferring Google Photos from iPhone to computer while maintaining organization and quality.
Step 1. Download FoneTool> Install and launch application.
Step 2. Connect iPhone to computer via USB cable > Trust computer if prompted.
Step 3. Select "Photo Transfer" > "iPhone to PC" feature in FoneTool interface.
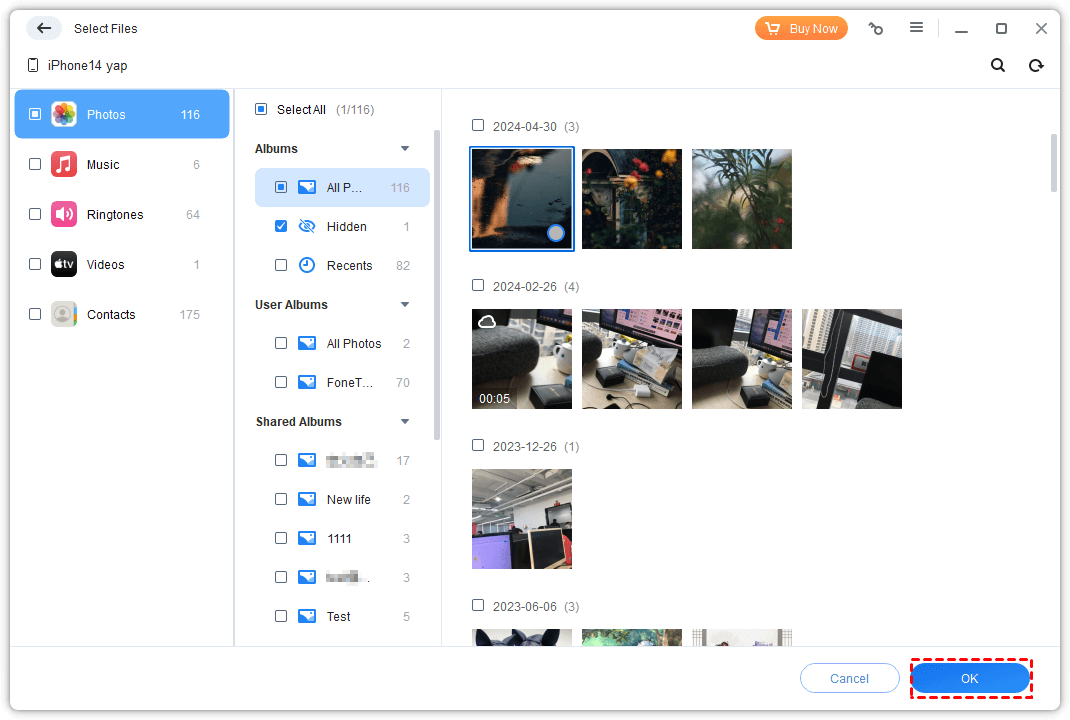
Step 4. Navigate to Google Photos album > Select photos to transfer.
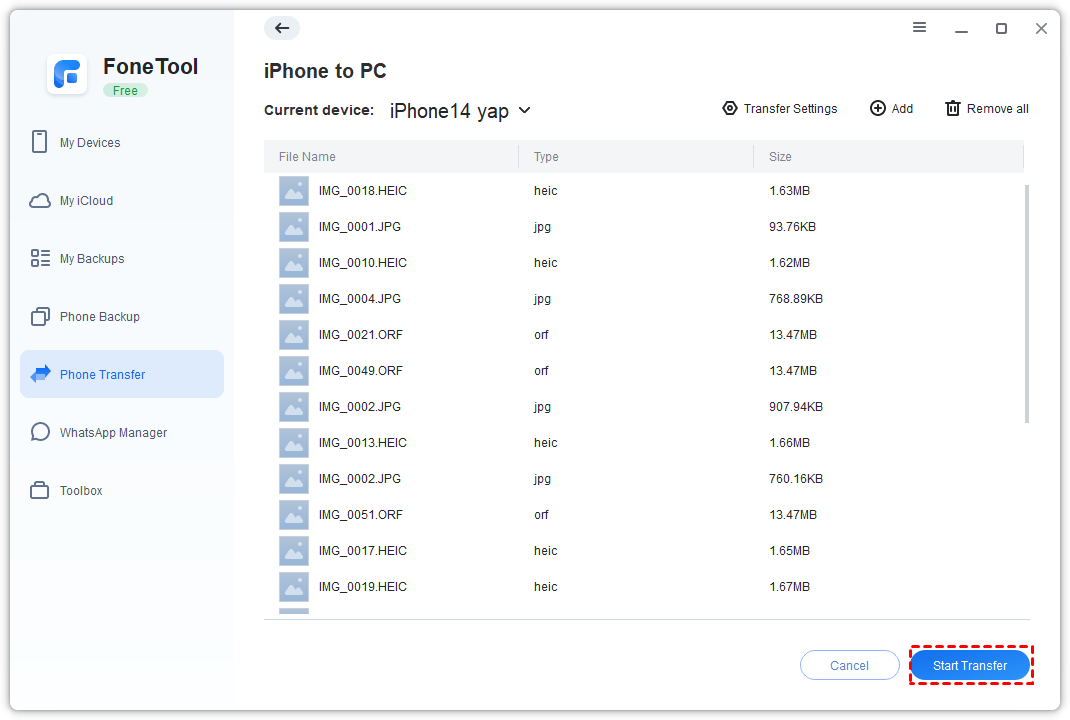
Step 5. Choose destination folder on your computer. Click "Start Transfer" > Verify completion in chosen folder.
Additional Tips:
🔄 Schedule regular transfers to keep computer updated with latest photos
💾 Ensure sufficient computer storage space before large transfers
📁 Use organized folder structures for easy photo management
Method 2: Sync Google Photos Using iCloud Integration
Leverage iCloud's seamless integration to sync photos across Apple ecosystem and access via Google Photos web interface.
Step 1. On iPhone: Settings > [Apple ID] > iCloud > Photos > Enable "iCloud Photos".
Step 2. On Computer: Visit photos.google.com > Sign in to Google account.
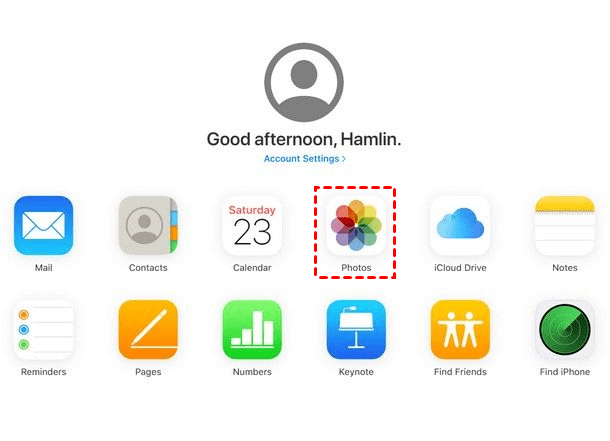
Step 3. Access all synced photos through Google Photos web interface.
Method 3: Using Google Drive for Seamless Sync
Google Drive provides direct upload capability from iPhone with instant accessibility on computer.
Step 1. On iPhone: Install Google Drive app > Tap "+" icon > Upload photos from camera roll.
Step 2. On Computer: Visit drive.google.com > Navigate to uploads folder.
Step 3. Access synced photos through Google Drive interface.
Method 4: Utilizing Third-Party Apps for Efficient Sync
Specialized apps like PhotoSync offer wireless transfer options between iPhone and computer.
Step 1. Install preferred sync app (e.g., PhotoSync) from App Store.
Step 2. Follow app-specific setup instructions for computer connection.
Step 3. Select and transfer Google Photos through app interface.
Method 5: Manual Transfer via USB Cable
Direct file transfer via USB cable provides complete control over photo selection and organization.
Step 1. Connect iPhone to computer using USB cable.
Step 2. Open file explorer/finder > Access iPhone storage.
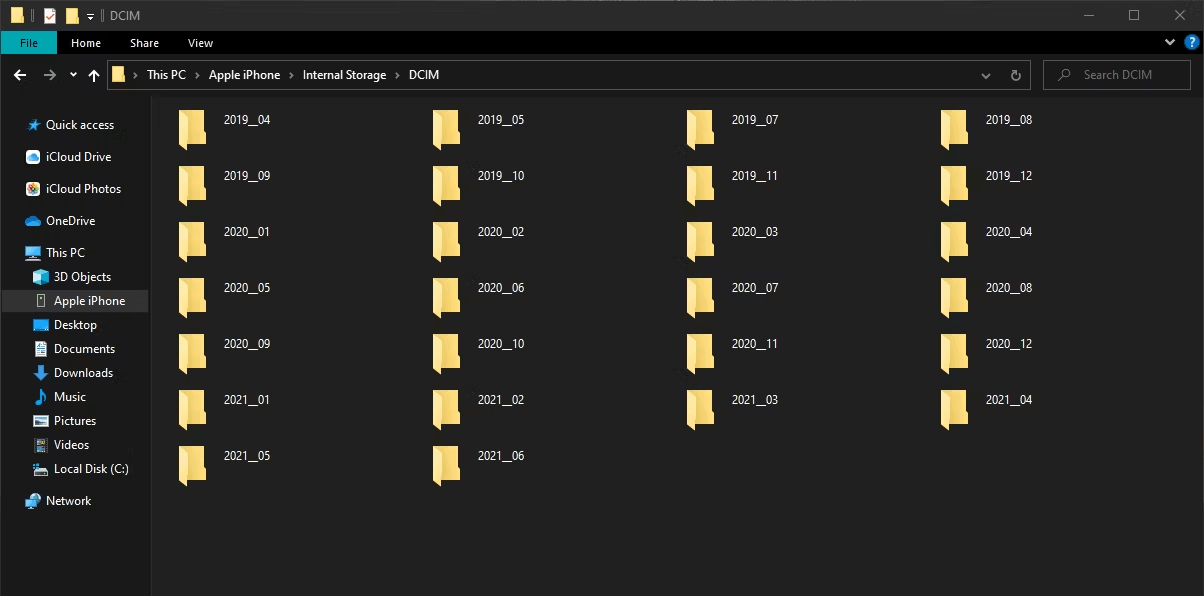
Step 3. Locate Google Photos folder > Copy files to computer destination.
Best Practices for Efficient Google Photos Syncing
Optimization Strategies:
📅 Regular Sync Schedule: Establish consistent syncing routine for latest photo backup
📶 Wi-Fi for Large Transfers: Use wireless networks for substantial photo collections
🗂️ Album Organization: Create structured albums in Google Photos before syncing
⚙️ Settings Verification: Periodically review and update sync preferences
Conclusion
Syncing Google Photos from iPhone to computer is essential for photo preservation and accessibility. Whether you prefer the direct control of FoneTool, the seamless integration of iCloud, the versatility of Google Drive, specialized third-party apps, or manual USB transfer, each method offers unique advantages. Choose the approach that best fits your workflow to ensure your valuable memories remain securely stored and readily available across all your devices.
FoneTool - All-in-one iPhone Data Manager
Transfer, backup and manage data on iPhone, iPad and iPod touch in an easy way.
-
 iOS 27 Compatible
 iPhone 17 Supported
Windows 11/10/8/8.1/7
100% Secure
Kelsey is an English editor at FoneTool, passionate about helping users solve tech issues. She specializes in iPhone data management, backup, and recovery. In her free time, she enjoys learning IT skills and spending time with loved ones.
Read author info >>