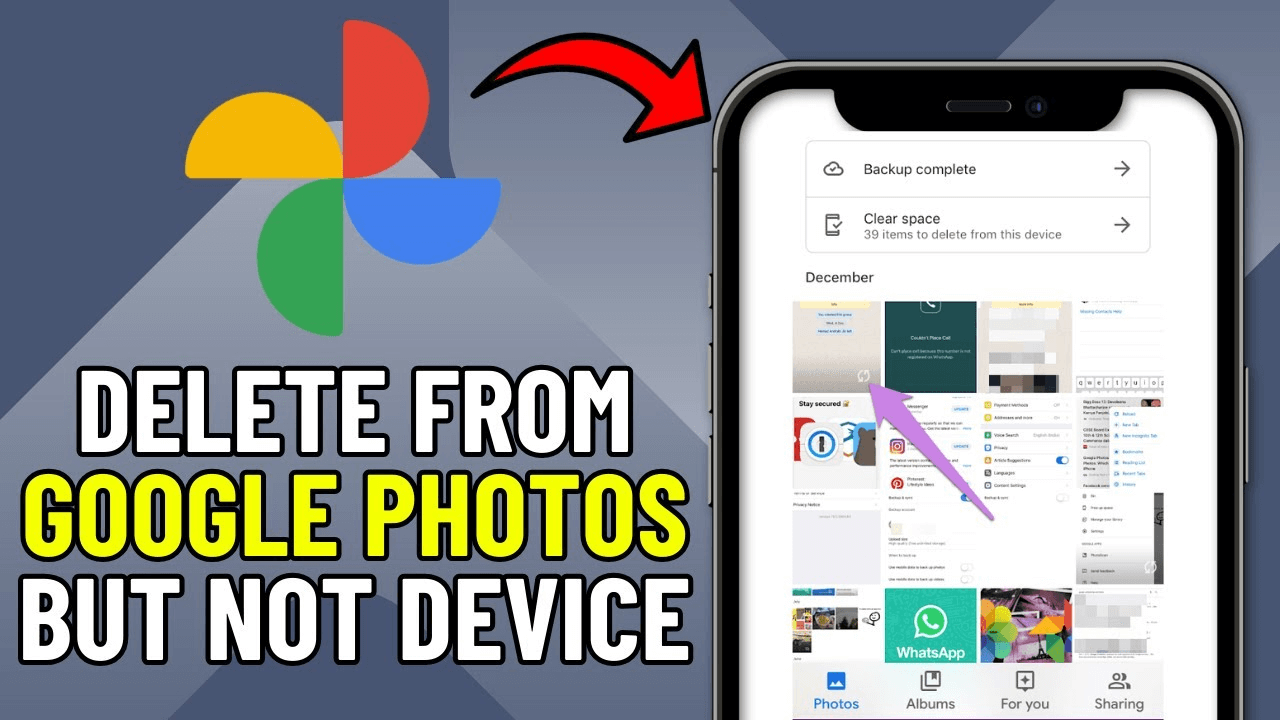
How to Delete from Google Photos but Not Device
Explore step-by-step instructions, expert insights, and troubleshooting tips in this extensive guide. Learn how to delete photos from Google Photos without affecting your device storage, ensuring efficient photo management across your devices.
In today's digital age, Google Photos has become a popular platform for storing and managing an extensive collection of photos. However, users often encounter challenges when trying to delete photos from Google Photos without removing them from their devices. This comprehensive guide provides detailed solutions, expert insights, and troubleshooting tips to help you efficiently manage your photo library.
Understanding the Challenge
The default behavior of Google Photos is to synchronize changes across all devices connected to the associated Google account. When you delete a photo from Google Photos, it often leads to the removal of the same photo from your device, creating a potential inconvenience for users who wish to free up space in the cloud while retaining local copies.
Step-by-Step Solutions
Method 1: Archive Instead of Delete
Google Photos offers an "Archive" feature that allows you to hide photos from the main library without removing them from your device. Follow these steps:
-
Open Google Photos on your device.
-
Select the photo you want to remove.
-
Tap on the three dots in the top-right corner.
-
Choose "Archive" from the menu.
Archived photos remain on your device but won't appear in the main photo feed.
Method 2: Create a Separate Album
Organize your photos into a specific album and then delete them from the main library. This way, they won't be removed from your device. Here's how:
-
Open Google Photos and select the photos to move.
-
Tap on the "+" icon to create a new album.
-
Move the selected photos to the new album.
-
Delete the photos from the main library.
The photos will stay in the album on your device while being removed from the main library.
Method 3: Turn Off Google Photos Sync
Temporarily disable Google Photos sync to prevent changes from affecting your device. Remember to re-enable sync afterward. Follow these steps:
-
Open Google Photos on your device.
-
Tap on your profile picture in the top-right corner.
-
Go to "Photos settings" or "Account storage."
-
Disable the "Google Photos" option.
This will prevent changes from reflecting on your device until you re-enable sync.
Method 4: Use Google Drive
Integrate Google Drive to store photos separately. When you delete a photo from Google Photos, it won't affect the version stored in Google Drive. Here's how:
-
Open Google Drive on your device.
-
Tap on the "+ New" button.
-
Choose "File upload" and select the photos to upload.
Deleted photos from Google Photos won't impact the versions stored in Google Drive.
Tips for Efficient Photo Management
-
Regularly Review and Organize: Set aside time to review and organize your Google Photos library, moving unwanted photos to separate albums or using the Archive feature.
-
Leverage Search and Facial Recognition: Google Photos has powerful search and facial recognition capabilities. Use these features to quickly find and manage specific photos.
-
Optimize Storage Settings: Customize your Google Photos settings to optimize storage usage. Adjust quality settings to save space while maintaining good image quality.
-
Backup Locally: Consider using alternative backup solutions to store copies of your photos locally, ensuring you have a reliable backup outside of Google Photos.
By following these step-by-step solutions and tips, you can efficiently delete photos from Google Photos without removing them from your device, enabling seamless photo management across your devices. Stay tuned for more tech tips and guides to enhance your digital experience.
Bonus: How to Backup iPhone Photos with FoneTool
Using FoneTool to backup your iPhone photos is a straightforward process. Follow these step-by-step instructions to ensure a seamless backup:
Step 1: Download and Install FoneTool Visit the official FoneTool website, download the application, and follow the installation instructions. Once the installation is complete, launch FoneTool on your computer.
Step 2: Connect Your iPhone Use a USB cable to connect your iPhone to the computer. Ensure that your device trusts the connected computer if prompted. FoneTool should detect your iPhone automatically.
Step 3: Access Backup Options In the FoneTool interface, you'll find various options. Choose the "Backup" option, which is designed for creating backups of your iPhone data.
Step 4: Select Data Types for Backup FoneTool provides flexibility in choosing the types of data you want to back up. Select "Photos" or any other data types you wish to include in the backup. This allows you to tailor the backup process according to your specific needs.
Step 5: Initiate the Backup Process Once you've selected the data types, click the "Start Backup" button to begin the backup process. FoneTool will efficiently transfer and store the selected data from your iPhone to your computer.
Step 6: Verify and Access Backup Once the backup process is complete, you can verify its success within the FoneTool interface. The software provides an accessible interface to manage and view your backed-up data.
Additional Tips:
-
Regular Backups: Make it a habit to perform regular backups to ensure that your latest photos are always protected.
-
Check Storage Space: Ensure that your computer has sufficient storage space to accommodate the backup files.
-
Secure Backup Location: Choose a secure location on your computer to store the backup files, preferably an external drive or a location with ample storage.
By following these simple steps and tips, you can use FoneTool to backup your iPhone photos effortlessly. FoneTool not only provides a user-friendly experience but also ensures the security of your precious memories. Stay tuned for more tech tips and guides to enhance your digital experience.
Summary
In conclusion, this guide equips users with the knowledge and tools needed for effective photo management in the digital age. By implementing the provided solutions and incorporating bonus tips on iPhone photo backups, users can navigate the challenges of photo deletion and storage optimization with confidence. Stay tuned for more insightful tech tips and guides to enhance your digital journey.
FoneTool - All-in-one iPhone Data Manager
Transfer, backup and manage data on iPhone, iPad and iPod touch in an easy way.
-
 iOS 26 Compatible
 iPhone 16 Supported
Windows 11/10/8/8.1/7
100% Secure

Kathy is an editor of FoneTool, who prefers to help more users address a series of iOS-related problems. She likes traveling and being close to nature makes her relax. She is also keen to engage in social activities and spend much free time with her friends.
Read author info >>