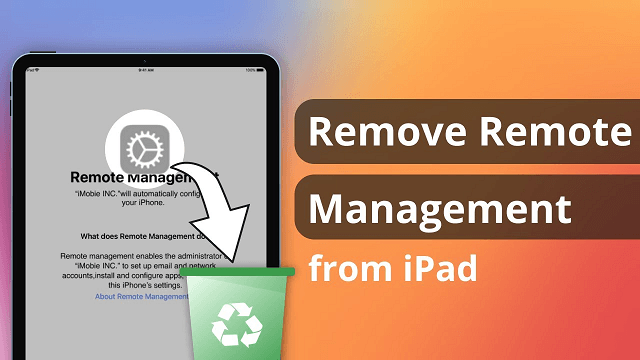
How to Remove Remote Management iPad After Restore
Discover step-by-step instructions on removing remote management from your iPad after a restore, ensuring full control and functionality in our comprehensive guide.
The iPad, hailed for its versatility and functionality, has become an integral part of our daily lives. However, users occasionally encounter situations where the need arises to remove remote management from their iPads, particularly after a restore.
This detailed guide aims to explore the intricacies of this process, shedding light on the reasons behind it, offering a step-by-step walkthrough for users, and highlighting the potential benefits that accompany the removal of remote management.
I. Understanding Remote Management After a Restore
After performing a restore on an iPad – whether as a troubleshooting measure, an operating system update, or other reasons – users may find themselves faced with the persistence of remote management settings. This post-restore scenario can pose challenges for individual users who seek complete autonomy over their device or harbor privacy concerns regarding external control through remote management.
II. Reasons to Remove Remote Management After a Restore
1. Personalization and Customization:
Following a restore, users often embark on a journey to customize their iPad settings in alignment with their preferences. The presence of lingering remote management settings can impede these customization efforts, necessitating their removal.
2. Enhanced Privacy:
Privacy-conscious users may consider it imperative to remove remote management after a restore to ensure that their personal data and device settings remain shielded from external control.
3. Disassociation from Corporate or Educational Environments:
iPads that were previously associated with corporate or educational environments may carry remnants of restrictive settings post a restore. Users may opt to remove remote management entirely to reclaim full control over their device.
III. Step-by-Step Guide to Removing Remote Management After a Restore
To embark on the journey of removing remote management on your iPad after a restore, diligently follow these comprehensive step-by-step instructions:
1. Go to Settings: Launch the Settings app on your iPad.
2. Navigate to General: Scroll down within the Settings interface and locate the "General" option.
3. Select Device Management: Within the General settings, identify and tap on the "Device Management" or "Profiles & Device Management" option.
4. Choose the Profile: Subsequently, under the Device Management section, pinpoint the profile associated with remote management and tap on it.
5. Remove Profile: Once inside the profile settings, initiate the removal process by tapping on "Remove Management" or a similar option. This action deletes the profile linked to remote management.
6. Enter Passcode: If prompted, input your iPad passcode to confirm and authenticate the removal process.
7. Restart Your iPad: Conclude the process by restarting your iPad, ensuring that the changes take effect seamlessly.
IV. Benefits of Removing Remote Management After a Restore
1. Full Control Over Device:
The removal of remote management reinstates users' complete control over their iPad, allowing for personalization and customization without any imposed restrictions.
2. Privacy Assurance:
Users can rest assured that the removal of remote management safeguards their personal data and settings, fostering a more private and secure user experience.
3. Freedom from Corporate or Educational Restrictions:
The removal of lingering corporate or educational restrictions enables users to disassociate their iPads entirely, facilitating a fresh start devoid of any prior constraints.
V. Regular Backup iPad to Avoid Data Loss
Welcome to a new era of iPad management with FoneTool – the ultimate companion for those who demand seamless control over their digital world. FoneTool transcends the ordinary, fusing innovation with simplicity to redefine the iPad experience. Say goodbye to the anxiety of data loss and embrace a world where your memories, work, and digital life are preserved effortlessly.
In a landscape where your iPad holds the canvas of your digital life, FoneTool introduces a vital feature – regular iPad backup. Safeguard your treasured moments and crucial data, ensuring they're shielded from the unexpected.
Step 1: Launch FoneTool
Open the FoneTool application on your computer – a gateway to a digital realm where cutting-edge technology converges with an intuitive interface.
Step 2: Connect Your iPad
Plug your iPad into the computer using a USB cable. FoneTool establishes a secure and swift connection, setting the stage for seamless backup.
Step 3: Navigate to iPad Backup
Within FoneTool, explore the dedicated section for iPad backup. Effortlessly tailor the backup process to align with your preferences, granting you full control.
Step 4: Choose Backup Preferences
Select your preferred backup settings. FoneTool empowers you to customize the backup, ensuring every facet of your iPad is safeguarded.
Step 5: Initiate Regular Backup
Click "Backup," and watch FoneTool seamlessly preserve your iPad data regularly, providing peace of mind that every memory and document is secured. FoneTool – where innovation meets the art of digital preservation.
Conclusion
In conclusion, navigating the post-restore landscape of removing remote management on your iPad is a crucial aspect for users seeking autonomy, privacy, and customization. This comprehensive guide provides an in-depth exploration of the process, offering users a detailed roadmap for a seamless removal experience. By following these step-by-step instructions, users can ensure that their iPad becomes a true reflection of their preferences, maintaining the highest levels of privacy, security, and personalization.
FoneTool - All-in-one iPhone Data Manager
Transfer, backup and manage data on iPhone, iPad and iPod touch in an easy way.
-
 iOS 26 Compatible
 iPhone 16 Supported
Windows 11/10/8/8.1/7
100% Secure

Demi is an editor of FoneTool group as well as an good advisor in the area of iOS-related issues. She does well in finding solutions to people's problems. She enjoys traveling, gardening, and watching movies. She spends most of her free time with her pet and family.
Read author info >>