How to Unlock Restrictions on iPhone: Full Guide
Learn how to unlock restrictions on iPhone with our step-by-step guide. Explore various methods to remove restrictions and regain access to restricted features and settings on your iPhone.
Unlocking restrictions on your iPhone can be necessary for various reasons, whether you've forgotten the passcode, inherited a device with restrictions enabled, or simply want to customize your device settings. In this comprehensive guide, we'll walk you through multiple methods to unlock restrictions on your iPhone effortlessly.
How to Unlock Restrictions on iPhone
Now you can find ways from this part to learn how to make it.
Method 1. Reset Restrictions Passcode
If you've forgotten your restrictions passcode, resetting it is the first step to unlocking restrictions on your iPhone. Here's how:
Open the "Settings" app on your iPhone > Scroll down and tap on "Screen Time" > Tap on "Change Screen Time Passcode" > Select "Forgot Passcode?" > Enter your Apple ID and password to reset the passcode.
Once the passcode is reset, you can customize the restrictions settings as needed.
Method 2. Disable Restrictions
If you know the restrictions passcode but want to completely remove restrictions from your iPhone, follow these steps:
Go to "Settings" on your iPhone > Tap on "Screen Time" > Select "Content & Privacy Restrictions" > Enter your passcode when prompted > Toggle off the "Content & Privacy Restrictions" switch.
This will disable all restrictions on your iPhone, allowing unrestricted access to all features and settings.
Method 3. Restore iPhone to Factory Settings
If you're unable to reset or disable restrictions using the methods above, restoring your iPhone to factory settings is another option. Here's how to do it:
Make sure to back up your iPhone data using iCloud or iTunes > Go to "Settings" on your iPhone > Tap on "General" and scroll down to select "Reset" > Choose "Erase All Content and Settings" > Enter your passcode if prompted and confirm the action.
Your iPhone will be reset to factory settings, removing all restrictions in the process.
Method 4. Use iTunes to Restore iPhone
If your iPhone is disabled due to forgotten restrictions passcode and you're unable to reset it using other methods, you can use iTunes to restore your device. Here's how:
Connect your iPhone to your computer and launch iTunes > Select your iPhone when it appears in iTunes> Choose the "Restore iPhone" option > Follow the on-screen instructions to complete the restoration process.
This will erase all data on your iPhone, including the restrictions passcode, and restore it to factory settings.
How to unlock iPhone passcode with professional unlocker
To unlock various iPhone passcodes, a professional iOS unlock software named FoneTool Unlocker can help you a lot.
- Highlights:
- · Delete iPhone screen passcode including 4/6-digit passcode, Face ID and Touch ID in simple steps.
- · Remove Apple ID from iPhone when you forget or don’t know the password.
- · Remove iTunes backup password when apps require it and you can't remember.
- · Bypass the screen time restrictions for certain apps on the iPhone.
- · Wide compatibility for various iPhone/iPad models, including the latest ones.
Now you can follow the guidance below to know how to unlock your iPhone without entering any unlock password.
Step 1. Launch FoneTool Unlocker > Connect your iPhone to the computer via a USB cable.
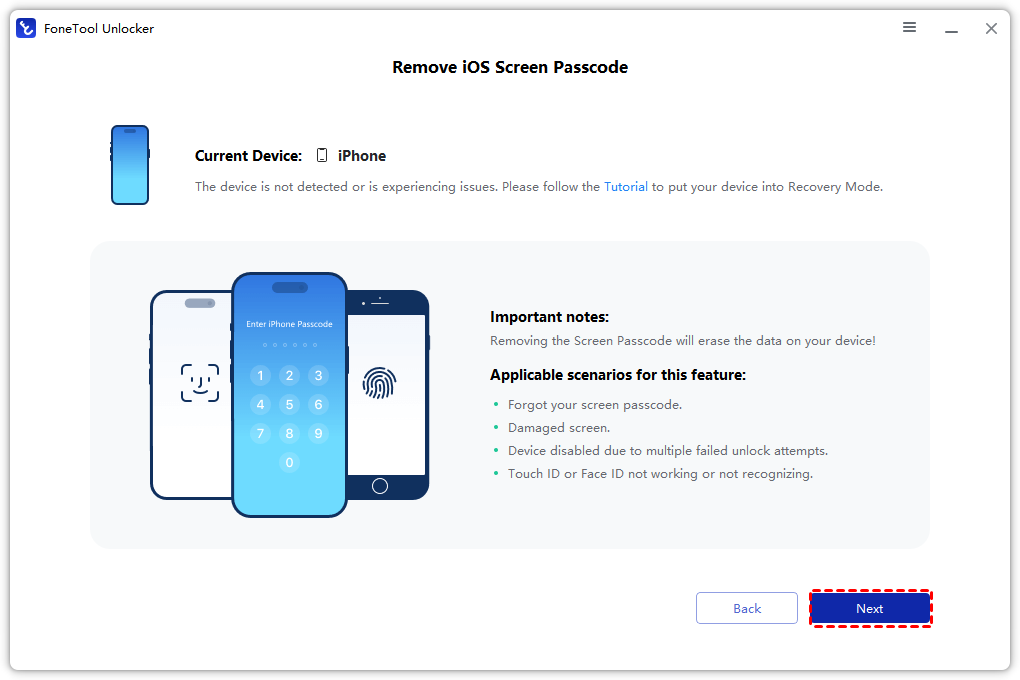
Step 2. Go to Remove iOS Screen Passcode > Click on Remove Now to continue.

Step 3. Confirm the on-screen instructions and click Next.
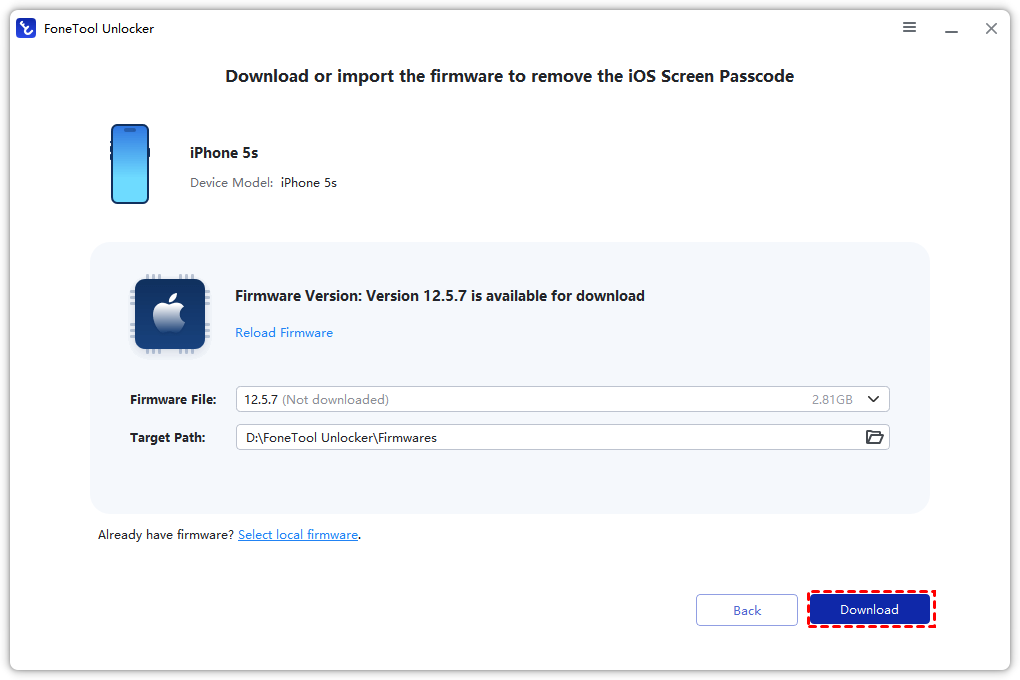
Step 4. Choose the firmware file you need > Click Download the get it.
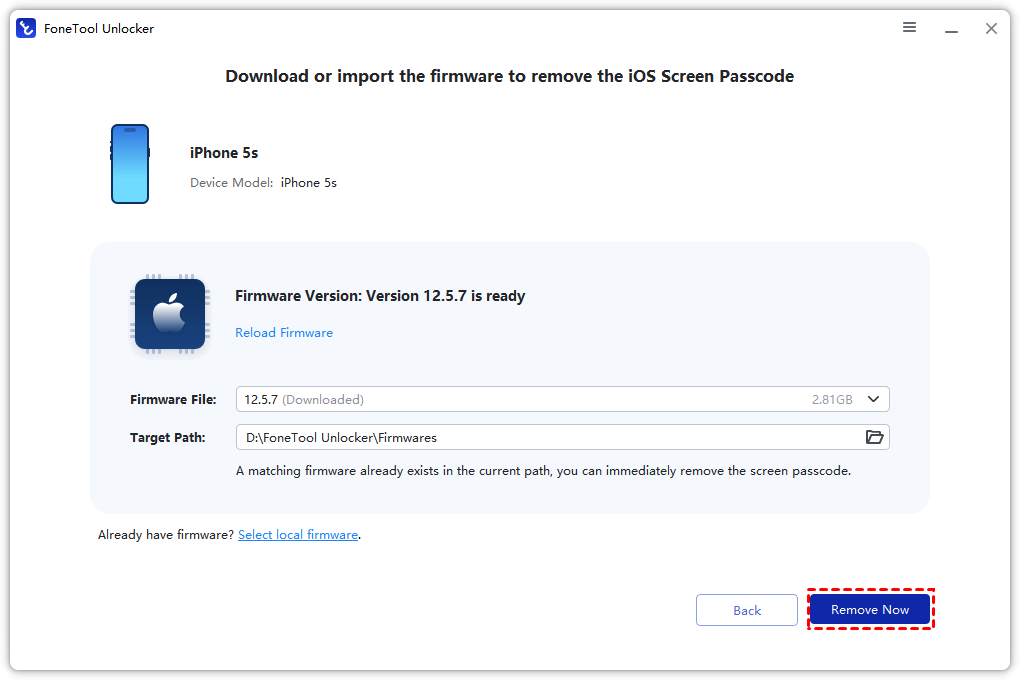
Step 5. Wait for a while, the firmware files will be downloaded. Now you can click Remove Now to begin the task.
Conclusion
By following these methods, you can successfully unlock restrictions on your iPhone and regain full access to its features and settings. Whether you need to reset the passcode, disable restrictions, or restore your device, there's a solution to fit your needs. Unlock the full potential of your iPhone today!
FoneTool Unlocker - 1-Click iPhone Unlock Software
Easily unlock all passcodes and restrictions on your iPhone, iPad, and iPod Touch.
-
 iOS 26 Compatible
 iPhone 16 Supported
100% Secure

Kathy is an editor of FoneTool, who prefers to help more users address a series of iOS-related problems. She likes traveling and being close to nature makes her relax. She is also keen to engage in social activities and spend much free time with her friends.
Read author info >>