How to Fix iPhone Photos Showing Up Grey: 5 Top Ways
Transfer, backup and manage data on iPhone, iPad and iPod touch in an easy way.
"Why are my photos showing up GREY on iPhone?" This is a question that many iPhone users might have encountered at some point. The greyscale appearance of your iPhone photos can be quite annoying, especially if you have a great collection of colorful images. While some photos might appear grey for no apparent reason, there could be several factors responsible for this issue.
In this article, we will explore the reasons why your iPhone photos might be showing up grey and provide troubleshooting solutions to fix the issue.
Why are my photos showing up GREY on iPhone?
There could be several reasons why your iPhone photos are appearing grey. Here are some common reasons:
⛔ Take photos too quickly
Taking photos too quickly may cause the camera to struggle to keep up, resulting in grey photos in the camera roll.
⛔ Insufficient storage space
Ensure there is sufficient storage space on your iPhone for photos to be stored properly.
⛔ Software glitches
If your photos show up as grey boxes or are corrupted, it could be due to a buggy iOS system or damaged hardware.
⛔ Unfinished photo transfer
If the greyed out photos originated from another device, it's possible that the transfer process was not completed properly before turning off your phone.
Troubleshoots for iPhone photos showing up grey
Here are some troubleshooting steps to fix the issue of iPhone photos greyed out. Just try them one after another until your issue gets fixed.
1# Take photos slowly
Taking photos too quickly can cause the iPhone camera to struggle to keep up and display the photos correctly. Slowing down the shutter speed can give the camera more time to respond to our instructions and prevent greyscale appearance. If your iPhone photos are displaying incorrectly, trying taking photos at a slower pace to resolve the issue.
2# Check available iPhone storage space
iPhone photos showing up grey could also be due to insufficient storage. Therefore, it is essential to ensure that your iPhone has sufficient storage space, particularly if you want to save numerous high-quality photos. To check and free up storage space, you could:
Go to the Settings app on iPhone > Choose General > Click iPhone Storage.
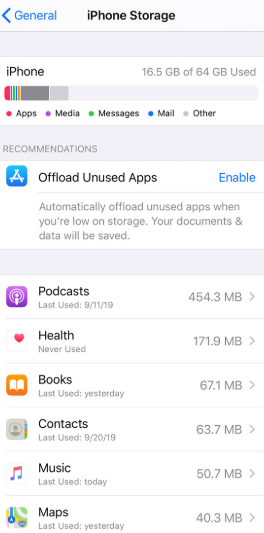
From this page, you will be able to view the amount of space occupied by each app and choose to uninstall or delete the apps that you rarely use to free up more storage space.
3# Open greyed-out photos in editor
If still, your iPhone photos showing up grey, can try a simple but lesser known method of slightly editing each corrupted photo.
Open and preview your damaged photos, click on Edit, and make any desired color adjustments, add shadows, or other modifications. Save each photo individually. This method has been reported to work for many users, so it may be worth a try.

4# Force restart iPhone
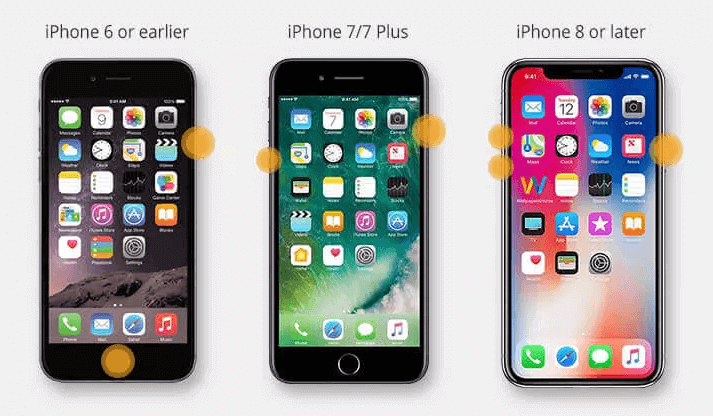
Force restarting your iPhone can often resolve minor glitches and clean up iPhone's memory. If the issue of photos appearing as grey boxes remains unresolved, you can attempt the following steps to perform a force restart:
• iPhone 8 and later: Press and quickly release the Volume + button > Perform the same operation on the Volume - button > Press the Side button and release when you see the Apple logo.
• iPhone 7/7 Plus: Press and hold both the Volume - button and the Power button > Release both buttons when the Apple logo appears.
• iPhone 6s or earlier: Press both the Power button and the Home button for seconds > Release both buttons when the Apple logo appears.
5# Recover photos via a recovery tool
Another excellent solution to address this issue is to utilize AOMEI Data Recovery for iOS, which can recover all your lost data under various circumstances. When your iPhone photos showing up grey, it may be a display issue, and the orignial photos may still exist on your iPhone.
You can delete greyed-out photos and use this tool to scan your iPhone and search for the original photos. Download AOMEI Data Recovery for iOS on your computer, and follow these steps to recover photos to your iPhone.
Step 1. Connect your iPhone to computer with USB > Tap Trust on your iPhone to let iPhone data readable.
Step 2. Launch AOMEI Data Recovery for iOS > Click Scan > Scan Now to let it scan your iPhone.

Step 3. When scan finishes, tap Photos and select the photos you want to recover > Click Recover to confirm. You can also choose other types of files in this step.

When the recovery process is complete, you can check whether the greyed-out has recovered as their original version on your iPhone.
Bonus: A quick way to transfer photos among iDevices and PC
If your greyed-out photos come from another iOS devices, it may result from an unsuccessful transfer task. As an alternative solution to transfer photos and other types of files from iPhone to iPhone, iPhone to PC, and vice versa, FoneTool offers you a convenient and lossless photo transfer experience.
With cutting-edge technology, you can transfer data at an astonishing speed. In fact, it only takes 2 seconds to transfer 100 photos. Get this freeware by clicking the icon below, and we’ll show you how to transfer photos from iPhone to iPhone as an example.
Steps to transfer photos from iPhone to PC
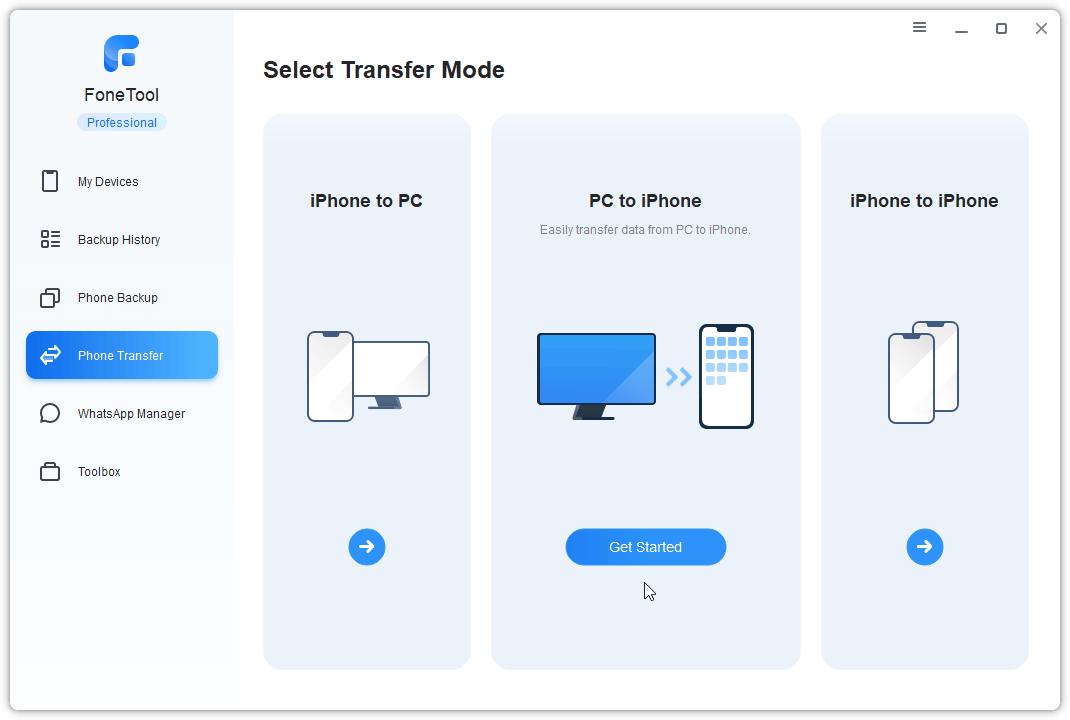
• Connect your iPhone to PC with USB > Launch FoneTool, and click Phone Transfer > Click Get Started under iPhone to PC.
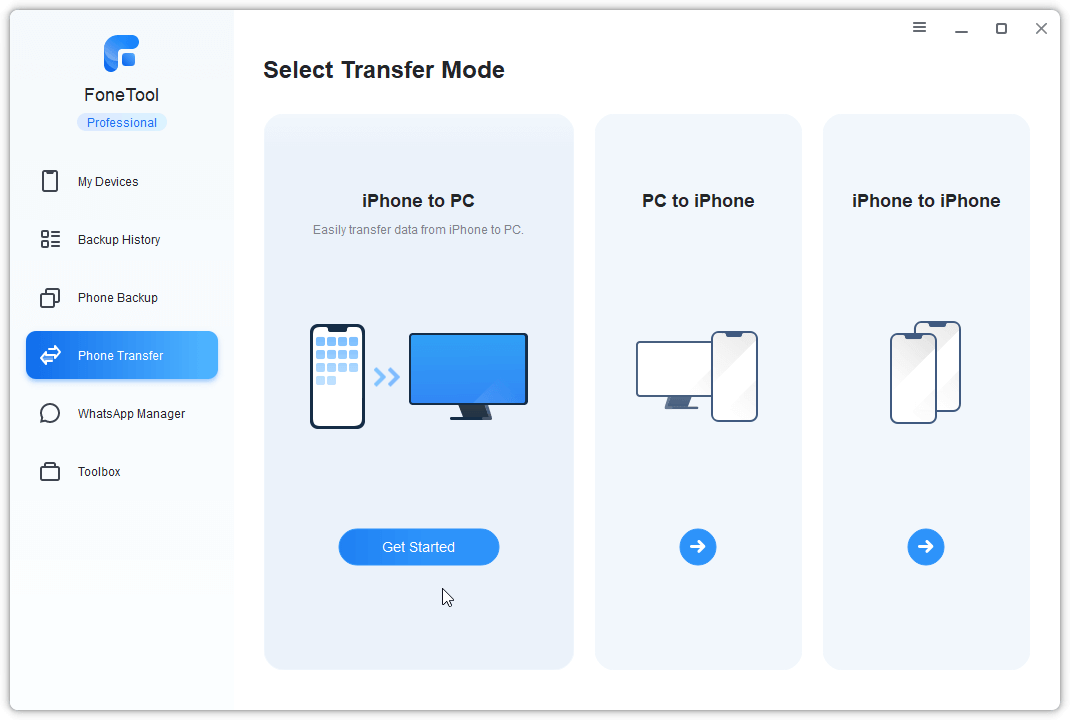
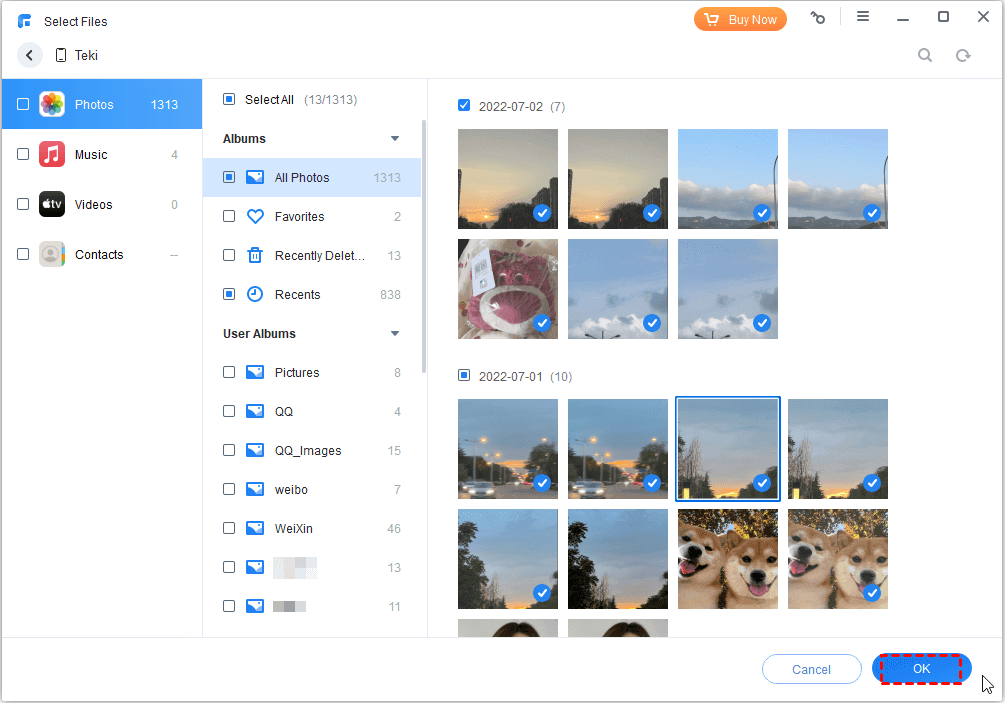
• Click the Photos icon to select the photos you want to transfer > Click OK.
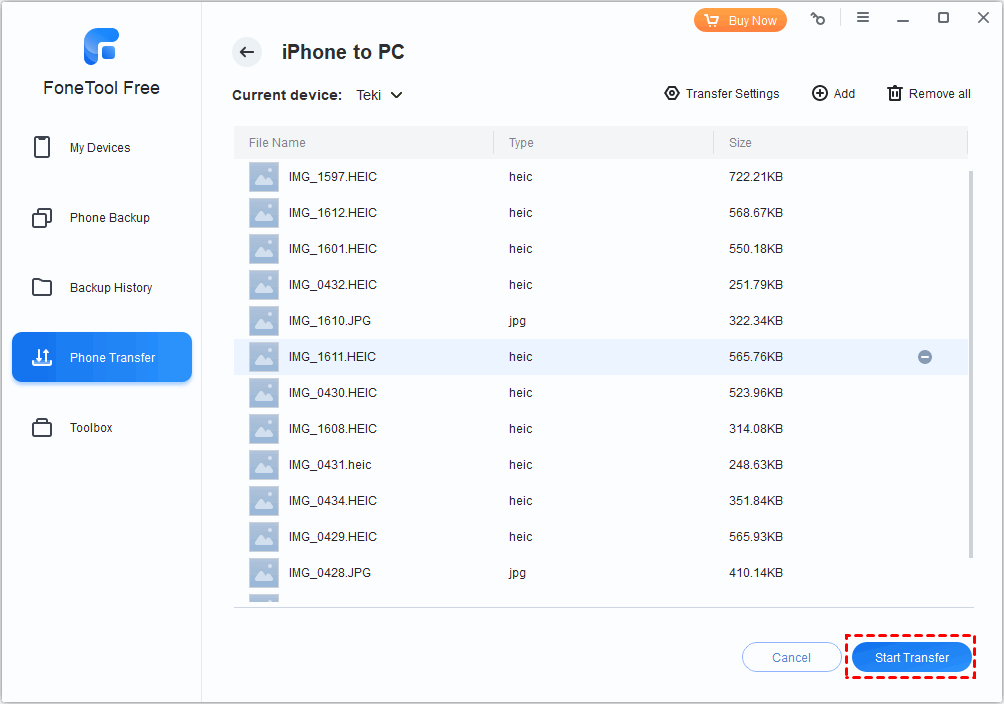
• Select the storage path on your PC > Click Start Transfer.
Steps to transfer photos from PC to iPhone
• Plug in iPhone to computer > Choose PC to iPhone in FoneTool and click Get Started > Select the photos you want to transfer from computer.
• Click Start Transfer. The selected photos will be transferred to the target iPhone at a superfast speed.
Conclusion
iPhone photos showing up grey can be quite frustrating, but with the right troubleshooting steps, you should be able to resolve the issue and restore your colorful images, and get your iPhone photos back to their original colorful glory. If this guide helpful, please share it with others.
FoneTool - All-in-one iPhone Data Manager
Transfer, backup and manage data on iPhone, iPad and iPod touch in an easy way.
-
 iOS 27 Compatible
 iPhone 17 Supported
Windows 11/10/8/8.1/7
100% Secure

Demi is an editor of FoneTool group as well as an good advisor in the area of iOS-related issues. She does well in finding solutions to people's problems. She enjoys traveling, gardening, and watching movies. She spends most of her free time with her pet and family.
Read author info >>