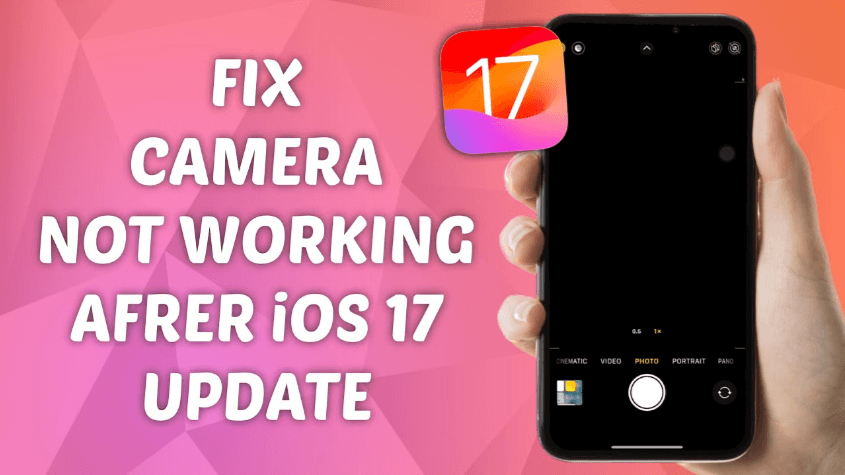
5 Top Ways to Fix iOS 17 Camera Bug after Update
What should you do when iOS 17 camera not working after update? All things are listed in this article. You can also know a useful tool to back up your iPhone photos without iTunes/iCloud efficiently.
Rear camera is not functioning on iPhone 14 after update to iOS 17.
Rear camera has totally ceased working, crashes third-party apps when attempting to use it (QR scanners, Pokémon Go, etc). Is anyone else seeing the same? Front still works and camera app doesn’t crash itself, just shows black that cannot be captured.
- Question from Reddit
What will happen when iOS 17 camera bug occurs?
Users who have upgraded their iPhones to iOS 17 have reported various issues related to the Camera app. These problems include:
 Slow and laggy performance in the Camera app.
- A black screen appears when trying to use the Camera within other apps.
- The Camera and microphone not functioning correctly in third-party apps.
- Photos not being saved properly and disappeared from iPhone.
- Frequent freezing or sudden closure of the Camera app.
- Reduced camera quality resulting in blurry pictures.
Why does iOS 17 camera bug appear?
There are several common reasons why the iPhone camera might stop working after an iOS update.
- ⛔ The new iOS update may contain software bugs.
- ⛔ The camera app might not be fully compatible with the new iOS version.
- ⛔ The update could change or revoke camera app permissions.
- ⛔ During the update process, cache or data corruption could occur.
- ⛔ Major updates like iOS 17 can introduce overall software instability, impacting various system components.
How to fix iOS 17 camera not working
After understanding the potential consequences of the iOS 17 beta camera bug and the reasons behind these issues, you can try the following five methods one by one to see which one is the most effective.
Solution 1. Restart the Camera app
Closing and restarting the Camera app is a standard troubleshooting step for addressing app glitches.
For iPhone 8 and earlier models: Double-press the Home button and swipe away the Camera app from the top screen to force close it.
For iPhone X and newer models: Swipe upward from the bottom of the iPhone's screen to go to the multitasking view > Find the Camera app among the running apps and swipe it away to close it.
Then you can reopen it to see if the issue is fixed.
Solution 2. Clean the camera lens
Dust, dirt, or fingerprints on the physical camera lens can impede the camera's functionality. You can delicately clean the iPhone camera lens using a microfiber cloth or your breath to create condensation on the lens and gently wipe it clean. Ensure that you avoid any abrasive materials that might scratch the lens.
Solution 3. Switch the camera mode
Another approach to address the problem is to modify the camera mode. For example. if you are currently using the regular photo mode, consider temporarily switching to Live Photos, video mode, cinematic mode, Portrait mode, Panoramic, or other available modes, and then revert to your original selection.
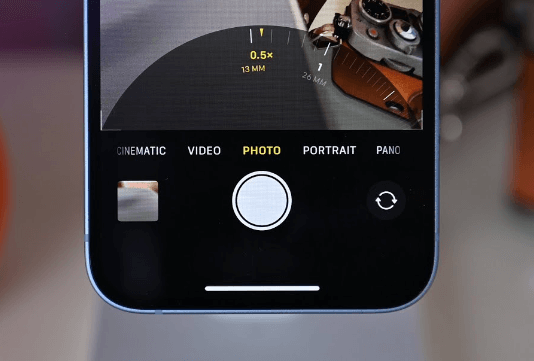
Additionally, you can experiment with changing between the front and rear-facing cameras. This method has been suggested by several iPhone users as a potential solution.
Solution 4. Restart your iPhone
Another viable method is to simply restart your iPhone.
For iPhone X/11/12/13 or later: Press and hold either volume button and the side button simultaneously until the power-off slider appears > Drag the power-off slider to the right to turn off your device.

For iPhone 6/7/8 or SE(2nd or 3rd generation): Press and hold the side button until the power-off slider appears on the screen > Drag the slider to the right to power off your iPhone.
For iPhone SE (1st generation), 5, or earlier: Press and hold the top button > When the power-off slider appears, drag the slider to turn off the device.
30 seconds later, press and hold the side/top button until you see the Apple logo to turn on the iPhone.
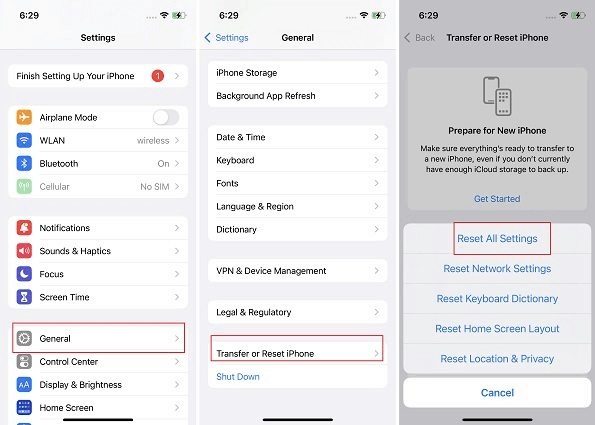
Solution 5. Reset all settings
At times, the root of the problem can be found in settings that are causing disruptions. Therefore, resetting all settings to their default configurations is a potential solution: Go to the Settings app on iPhone > Choose General > Transfer or Reset iPhone > Click Reset and choose Reset All Settings to make it.
If none of the methods mentioned above work, you can either wait for the next iOS update to automatically fix the issue or consider downgrading from iOS 17 to iOS 16 to see if that solves the problem.
Bonus: How to back up iPhone photos without iTunes/iCloud
For many avid iPhone photographers, their phones are likely filled with numerous important photos. However, having too many photos can lead to a shortage of storage space on your phone, and sudden data loss can result in the disappearance of precious memories.
In such cases, it's wise to backup your iPhone photos to your computer. And FoneTool can assist you in seamlessly achieving this process. Compared with iTunes/iCloud, you can get more things from using FoneTool.
-
Full and selective backups: Unlike iTunes/iCloud, FoneTool allows you to either fully back up your iPhone or selectively choose to secure specific items such as photos, videos, music, contacts, and messages.
Super-fast backup speed: You can quickly move lots of large files from iPhone to PC. For example, 1000 photos can be transferred in minutes.
No Apple ID restrictions: You can easily back up an iPhone to another iPhone/iPad or transfer between iOS devices with different Apple IDs.
No data loss: All your data can be kept in original quality, while iTunes will overwrite your data in some situations.
Extensive compatibility: iTunes will often occur fault such as error code 3004, but FoneTool works well with various iOS devices, including iPhone 4 to iPhone 15, iPad and iPod Touch.
Now you can follow the instructions below to learn how to back up iPhone photos on Windows PC.
Step 1. Download and install FoneTool on your computer. Connect your iPhone with a USB cable to the PC.
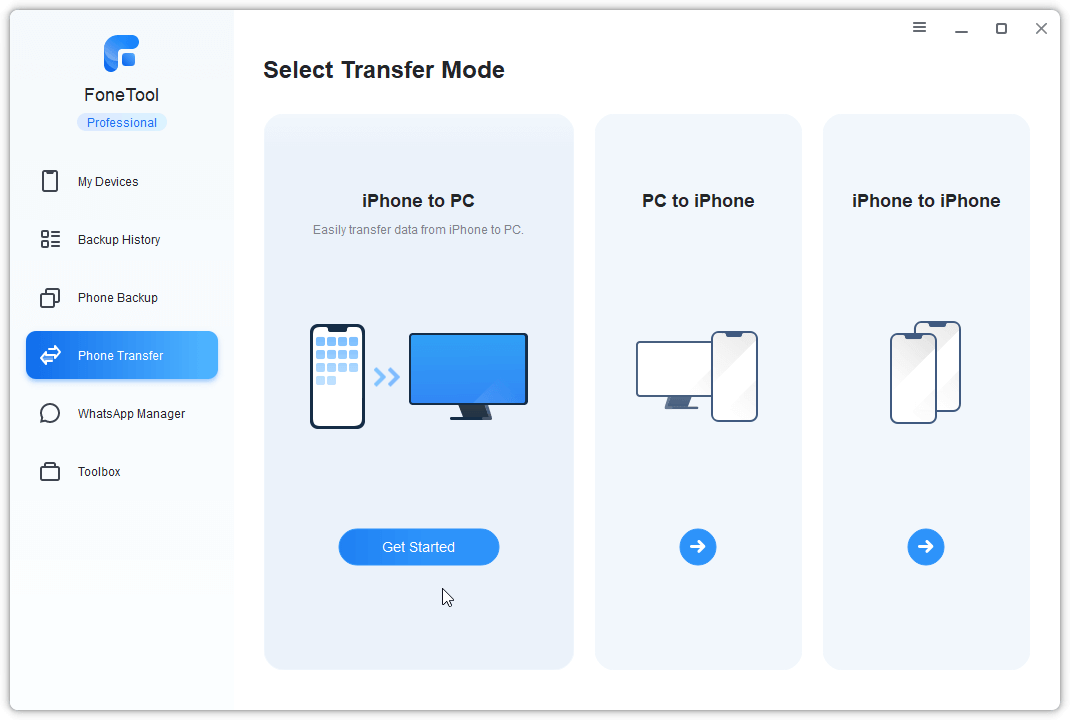
Step 2. Run FoneTool, and click Phone Transfer > Move the cursor to iPhone to PC and click Get Started.
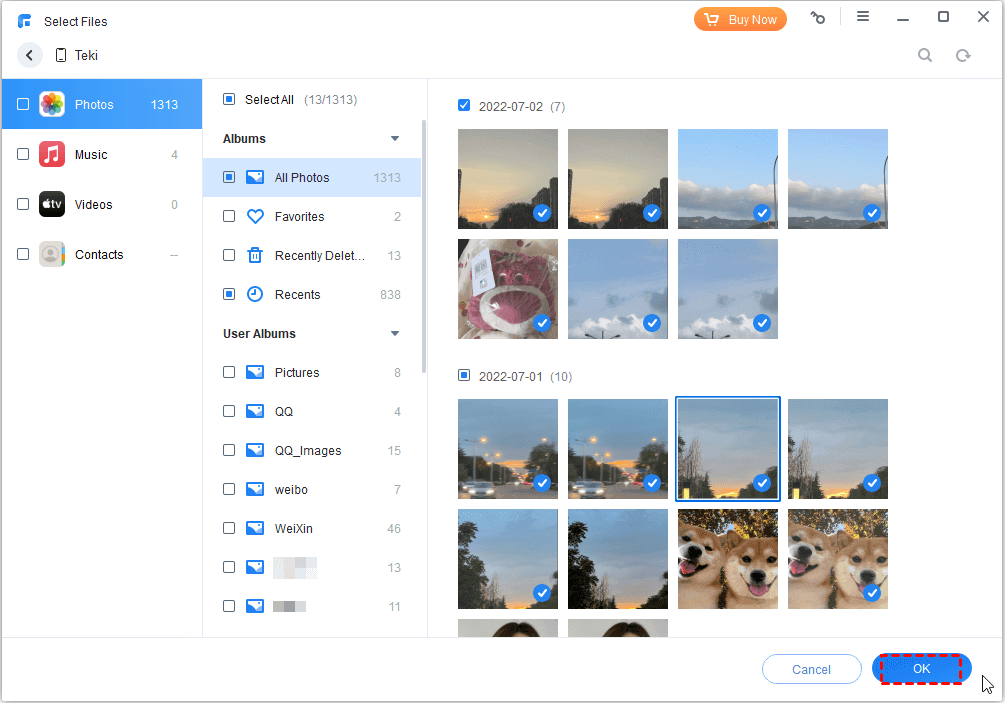
Step 3. Check the Photos option to select the targeted photos and click OK.
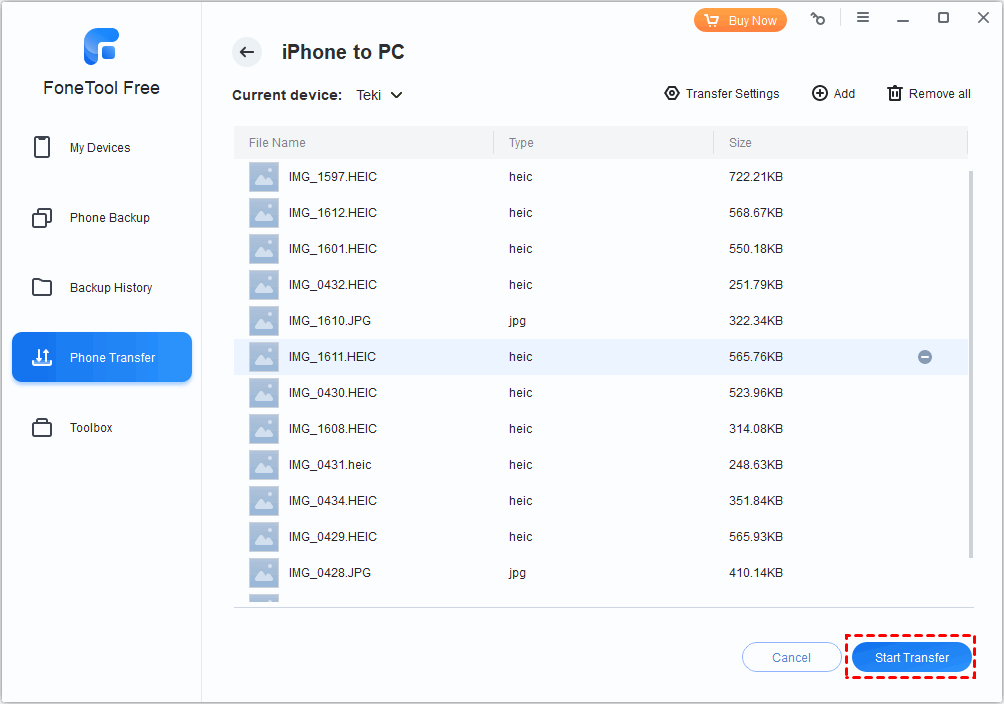
Step 4. You can change the storage path from the Transfer Settings option. Then click the Start Transfer button to move the iPhone photos on your PC.
- ★Tips:
- If you need to access iPhone photos on iPad after the process, you can connect your iPad to the PC, then go to Phone Transfer and choose PC to iPhone to transfer these photos to your iPad.
- If you need to edit iPhone HEIC photos on PC, you can go to Toolbox and click HEIC Converter to convert them to JPG/JPEG/PNG, then you can easily add HEIC files to Lightroom.
Conclusion
From this passage, hope you can know how to fix iOS 17 camera bug efficiently. You can restart the Camera app, clean the camera lens, switch the camera mode, restart your iPhone or reset all settings to solve the problem.
If you want to protect your iPhone photos, FoneTool can be a good helper to accomplish the action. With this rich-feature app, you can also find and delete similar photos on iPhone/iPad easily to free up your device storage.
FoneTool - All-in-one iPhone Data Manager
Transfer, backup and manage data on iPhone, iPad and iPod touch in an easy way.
-
 iOS 27 Compatible
 iPhone 17 Supported
Windows 11/10/8/8.1/7
100% Secure

Kathy is an editor of FoneTool, who prefers to help more users address a series of iOS-related problems. She likes traveling and being close to nature makes her relax. She is also keen to engage in social activities and spend much free time with her friends.
Read author info >>