[3 Easy Ways] How to Transfer Music from Laptop to iPhone
Want to know how to transfer music from laptop to iPhone? This guide gives you a detailed introduction to 3 effective methods with and without iTunes.
Modern Solutions for Music Transfer
While iTunes was once the standard for transferring music from laptop to iPhone, its performance issues and eventual service suspension have led users to seek more efficient alternatives. This guide presents three proven methods to transfer songs from laptop to iPhone seamlessly, whether you choose to continue with iTunes or explore better options.
Transfer Music from Laptop to iPhone Without iTunes
FoneTool provides a superior alternative to iTunes for transferring music from computer to iPhone, offering faster speeds and safer data handling without compression or data loss.
- Transfer music in seconds without compromising quality
- True incremental transfer without erasing iPhone data
- Universal compatibility with purchased and personal music
- Support PC to iPhone, iPhone to PC, iPhone to iPhone transfer
- Latest device support including newest iPhone and iOS versions
Windows 11/10/8/8.1/7
100% Secure
Follow the step-by-step guide to learn how to transfer music from laptop to iPhone with usb.
Step 1. Download and launch FoneTool > Connect iPhone via USB > Select Phone Transfer > PC to iPhone.

Step 2. Click the Music option > Add songs via the button or drag-and-drop.
Step 3. Click Start Transfer to transfer music to your iPhone seamlessly.
Copy Music from Laptop to iPhone with Cloud Services
Cloud services like Google Drive, iCloud, and Dropbox enable wireless music transfer, ideal for users preferring cable-free solutions despite longer upload/download times. Refer to Google Drive's steps to download songs from a laptop to iPhone:
Step 1. Go to Google Drive > Sign in to your account.
Step 2. Click + New > File Upload > Select music files.
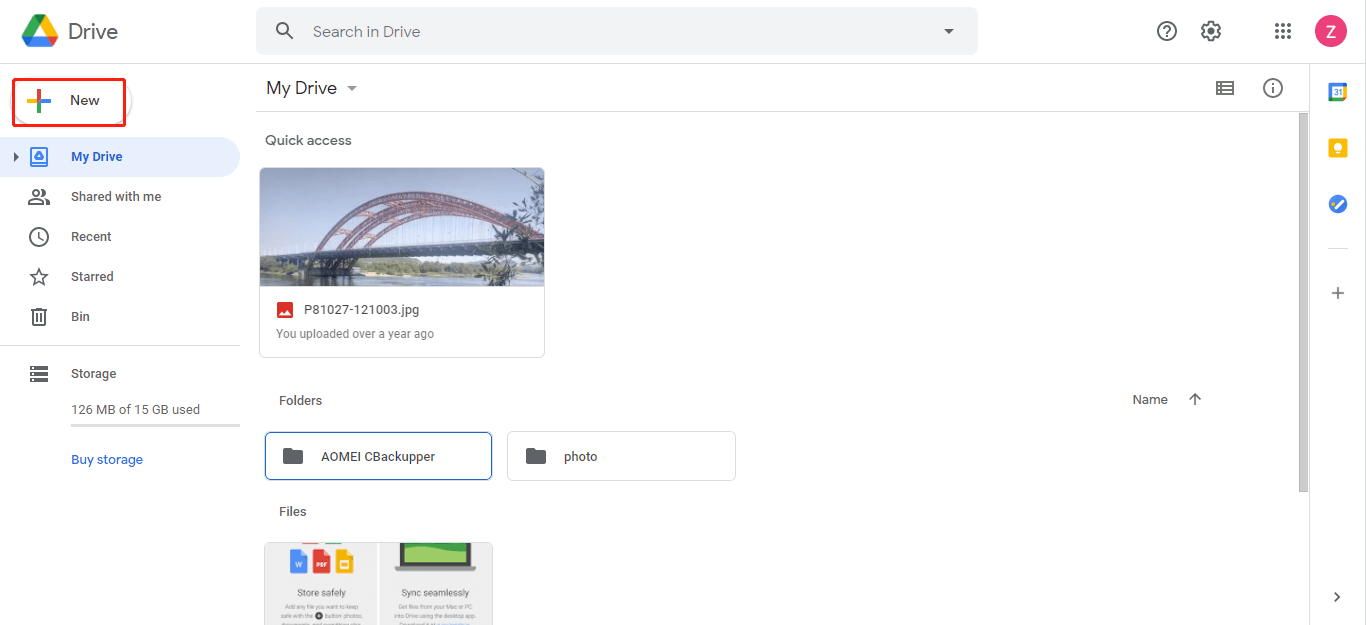
Step 3. Access uploaded music via Google Drive app on iPhone.
Sync Music from Laptop to iPhone with iTunes
iTunes sync remains an option for music transfer but carries the significant drawback of overwriting your existing iPhone music library during synchronization. The steps to copy songs from laptop to iPhone using iTunes are as follows:
Step 1. Open iTunes > Verify latest version via Help > Check for Updates.
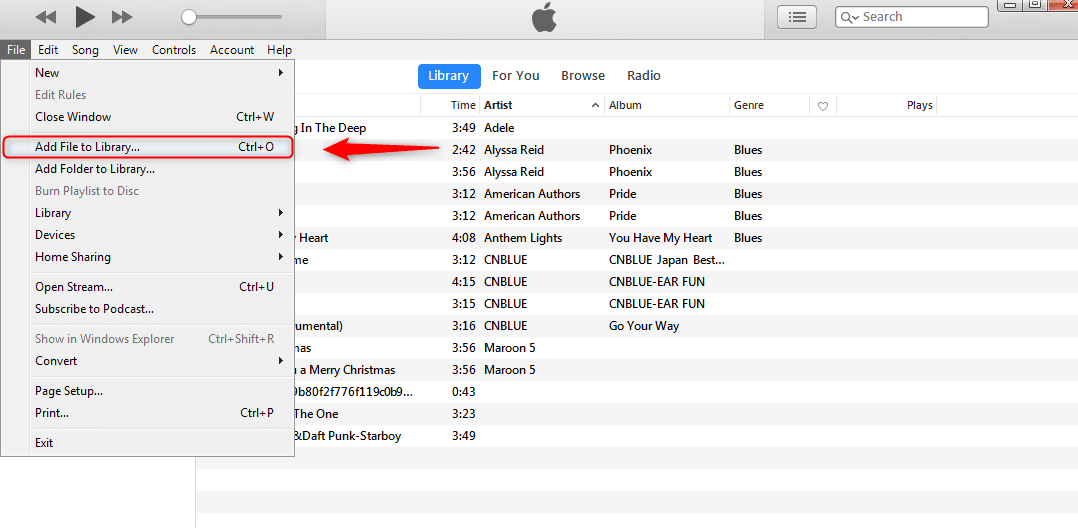
Step 2. From the menu bar, click File> Add File to Library > Select songs > Open.
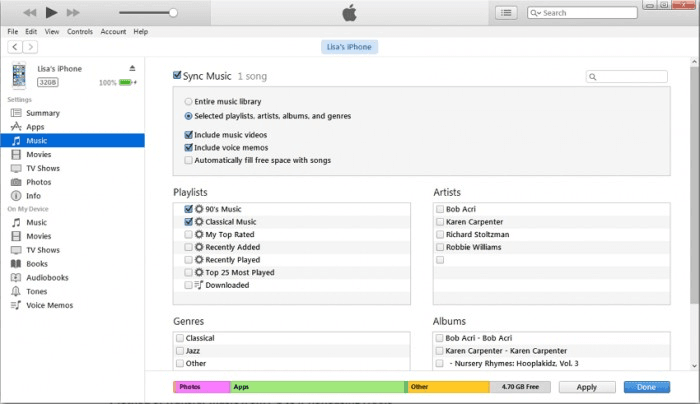
Step 3. Connect iPhone > Click device icon > Settings > Music.
Step 4. Enable Sync Music > Choose Entire library or Selected playlists... to send part of the music from laptop to iPhone.
In the End
iTunes is no longer the only solution for transferring music from laptop to iPhone. These three effective methods cater to different user preferences, with FoneTool emerging as the optimal choice for most users seeking convenience, speed, and data safety. Choose the approach that best fits your technical comfort and transfer requirements to successfully move your music collection to your iPhone.
Frequently Asked Questions
FoneTool - All-in-one iPhone Data Manager
Transfer, backup and manage data on iPhone, iPad and iPod touch in an easy way.
-
 iOS 27 Compatible
 iPhone 17 Supported
Windows 11/10/8/8.1/7
100% Secure
Kelsey is an English editor at FoneTool, passionate about helping users solve tech issues. She specializes in iPhone data management, backup, and recovery. In her free time, she enjoys learning IT skills and spending time with loved ones.
Read author info >>